
|
| Memorymoog Fan Kit Installation | |
|
This kit
(part #9570) replaces the
noisy and somewhat clunky Memorymoog fan with a modern, quiet,
more efficient fan. Replacement is simple, and quick. |
|
|
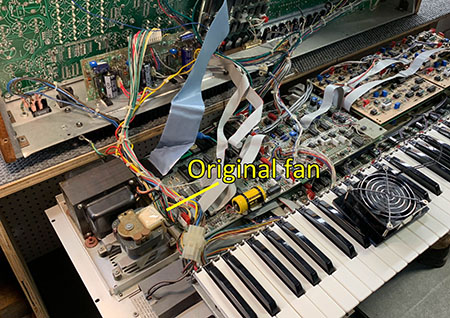
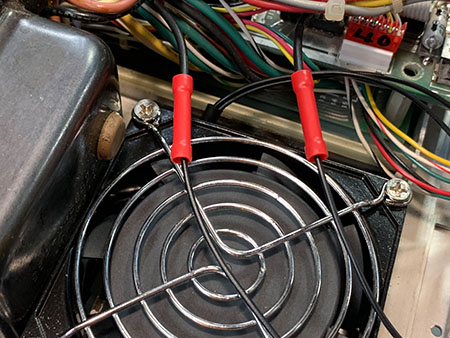
With the power cord unplugged, open the Memorymoog on a flat surface, with the upper panel resting solidly behind it as shown. Locate the fan on the left side of the keyboard, just next to the large power transformer. |
|
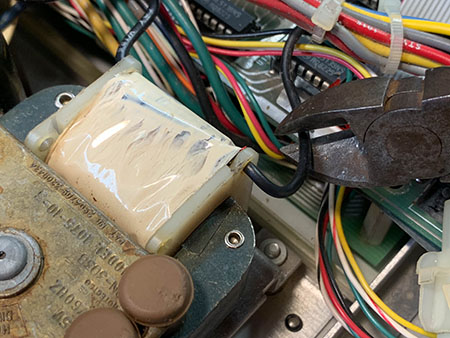
Clip the two black wires that run to the fan. |
|
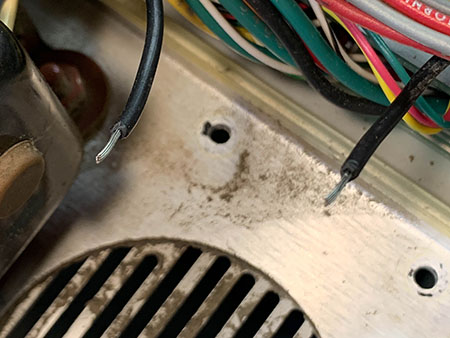
Remove the original fan, using a Phillips screwdriver to remove the four screws from the bottom panel. Trim about �-inch of insulation from the remaining black fan wires. |
|
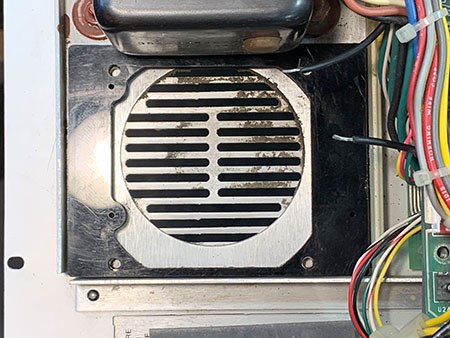
Remove the new fan from the adapter plate (four Phillips machine screws), leaving the nuts in place. Slip the adapter plate into place in the Memorymoog as shown. If the nuts don�t stay in place in the adapter plate, put a dab of fingernail polish in the recess in the plate, and then push the nut back in. Be sure the widest side of the adapter plate is positioned toward the center of the keyboard. |

|
Position the fan back onto the adapter plate, with the wires pointing toward the center of the keyboard, and screw it into place. |
|
Use the four smaller screws (supplied) to attach the adapter
plate to the bottom panel of the Memorymoog, where the original
fan screws were. Using a wire crimping tool, attach the black fan
wires to the black Memorymoog wires; it doesn�t matter which wire
connects to which.
You can now carefully power on the Memorymoog, and make sure that the fan spins. Once you have verified this, turn it back off, and reattach the front panel. |